I am quite obsessed with my nails, so I am guessing that you’re too as you visiting this post. I havegatheredmy own experience and honest Olive and June nail polish review below– to help you understand whether the product deserve the hype or not!
Before purchasing the product, I went on reading tons of reviews which was really confusing to me. Those reviews, instead of helping me, put me in deep thought whether Olive and June worth the hype or not? I pondered this for about a couple of months before purchasing and seeing it for myself! I lastlytested this Instagram-loved manicure at home nail polish from Olive And June to share my honest experience with you!
My Personal Experience & Olive And June Nail Polish Review:
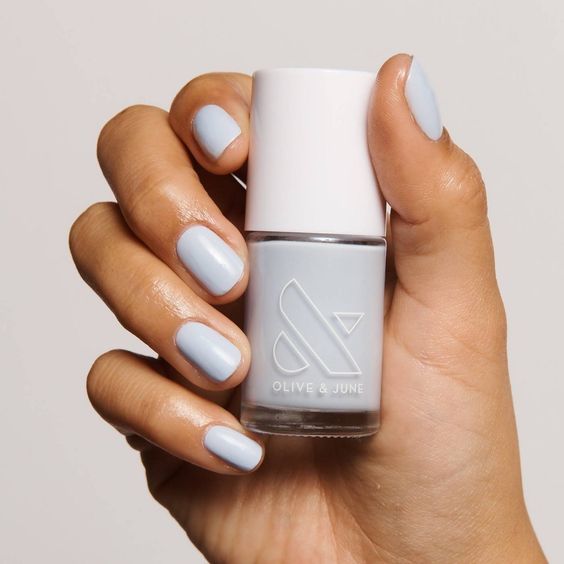
The durability of Olive & June’s nail polish On Instagram has become so renowned that I couldn’t help but ordered the Nailfie ready box to try out myself. So, let’s talk about its packaging first.
They so pleasantly sent the “THE NAILFIE READY” box it impressed me a lot!One thing that instantlyimpressed me a lot about Olive & June is their flawless style. Theyalways come with amazing manicure kits.
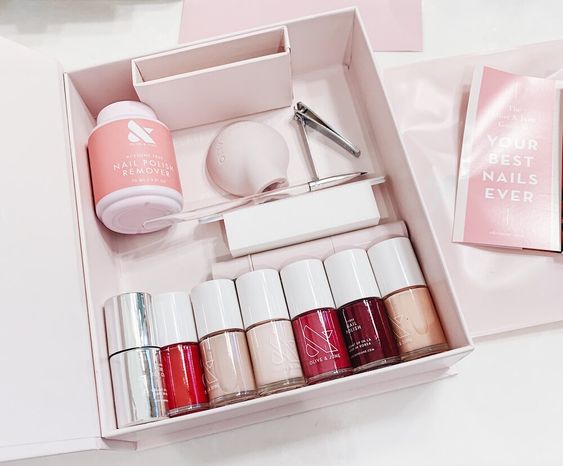
When I received my “THE NAILFIE READY” box I instantlygo for it, ready to confront my first maniat home nail polish with Olive & June.There are 7 different shades of nail polish available in the box. I was sent the “THE NAILFIE READY BOX” which included the following
Inside you will find out 8-piece of manicure system of productsand toolsplus 6 recently released shades of 7 long-lasting nail polish.
- 7 shades of Long-Lasting Nail Polishes
- The Top Coat
- Cuticle Serum with Cactus Flower*
- The Poppy polish bottle handle**
- Polish Remover Pot
- Clean-Up Brush
- Dual-Grit File
- Flat-Edge Clippers
- Nail Buffer Bar
*Olive & June Cuticle Serum with Cactus Flower
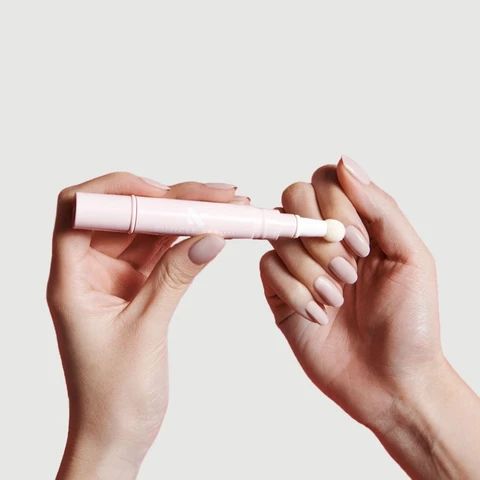
One thing that I particularlyadore about Olive and June brand is the cuticle serum the kit contained! It helps to make your cuticles appear hydratedand refreshedwith simply the swipe of a brush.
It is fast drying and mess free as well as full of jojobaand avocadooil. And it is so relaxed to apply – as all you need to do is to just open the cap of the bottle, twist it about 2-3 times and apply it on the cuticle!
**The Poppy Polish Bottle Handle:
If you are new to Olive & June, you have to distinguish about the Poppy first. The Poppy polish is Olive and June’s “secret weapon” to give us a salon worthy nail at home!
It is anexclusive bottle handle that makes the nailspainting easier for you! You can as well use it on your otherbottle of nail polish, not only Olive and June’s. It fits with every other bottles.
The very first time I applied the poppy on my nails I made a huge mistake. That mess took place due to my silliness as I didnot follow the tips they provided. Just follow the tips properly, they have provided to get it right on your first try and not make a mistake just like I did.
Prep Tips For Perfect Olive & June Mani At Home:
Before you start with your mani at home, make sure you’ve your nail file, nailpolish remover, buffer, clipper, top coat, polish, and also the clean-up nail brush. Make sure you’ve a perfect place to go with your Mani at homeand becomfortable.
PREP:
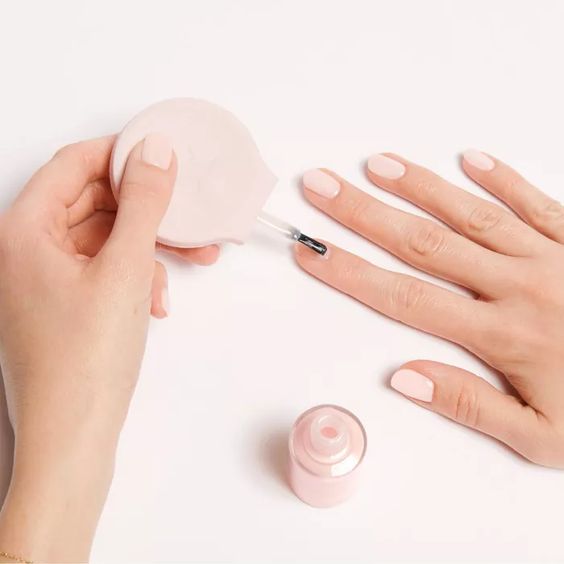
At all timesbegin with cleaning up your nails.One of the major differences amongan at-home maniand a salon maniis the preparation work you do.
The foremost thing you should do is get rid of any old nail polish with the help of a nail polish remover. I personally used a polish remover pot as it is zero-messandfast, but there are lots of other options from the cotton ball combo and classic nail polish remover to single-use wipes as remover. That’s entirely up to you. Using the nail polish remover helps to rid the excess oilof nail, providing you a drier base for the process, which will help the nail polish stick & last longer.
SHAPE:
Clip and file your nails.First, use a flat edged nail clipperand cut your nails to shape it as you desire it to be. Then, lightly smooth out the nail edges with the file. In case your nails are unevenor appearridged, buff the sides or top slightlyto have aneven canvas for the mani at home process.
TRIM:
Some people prefer to cut their cuticles, but I personallyexperienced that when you take care of them well, there is no need to cut them off. In case you have hangnails, trim them carefully using the nail clipper. There is no need to get violent here. Use your buffer, softly glide the grit back and forth sideways the cuticle edgeto erase dry skin as well as smooth it out.
POLISH:
Paint, Dry; Repeat; Apply Top Coat, Finally Dry it out
The first portion of painting the nails is essentially getting comfortable. I recommend take a seat where you can have a flat surface to work on.
Openingthe bottle check the reliability of the nail polish.
Verify it is uniformandsmooth, not separatedorclumpy.
To apply the first swipe of nail polish, begin with a center swipe, then swipe it on the either side of the nail.
Make sure to cover your nail plate in 3 strokes of nail polish.
Repeat the process on your every single nail.
Let the nail polish dry for 2 minutes at least before reapplying the second coat of nail polish.
Again let it dry completely before you seal your nails with the top coat to make the most of shine as well as protect the nail polish from getting dingsandchips.
CLEAN-UP
In case you have gotten any polish on your fingertipsorcuticles, then use a clean-up brush to remove to clean up polish linesorany unwanted color.
SHINE
Finish your Mani at home process with cuticle serum around the nails. For this, once you apply the top coat and it is driedfully, apply the cuticle serum so that your maniat home shine. The cuticle serum is a must-haveproduct to get salon like finish.